
Advanced hardware lab 5-6 replace parts in a laptop all-in-one – Embark on a comprehensive exploration of advanced hardware lab 5-6, where the intricate inner workings of a laptop all-in-one are unveiled. This immersive journey will empower you with the knowledge and techniques to diagnose and resolve complex hardware issues, ensuring your device operates at its optimal performance.
Delve into the fundamental components of a laptop all-in-one, deciphering their functions and specifications. Master troubleshooting techniques to pinpoint hardware malfunctions, utilizing diagnostic tools and methods with precision. Step-by-step replacement procedures guide you through the intricate process of replacing essential components, including batteries, hard drives, memory, and displays, ensuring meticulous execution and adherence to safety precautions.
Hardware Components: Advanced Hardware Lab 5-6 Replace Parts In A Laptop All-in-one
A laptop all-in-one combines the components of a traditional laptop and a desktop computer into a single unit. The key hardware components of a laptop all-in-one include:
- Display:The display is the main visual interface for the user. It typically uses LCD or LED technology and provides a resolution of 1080p or higher.
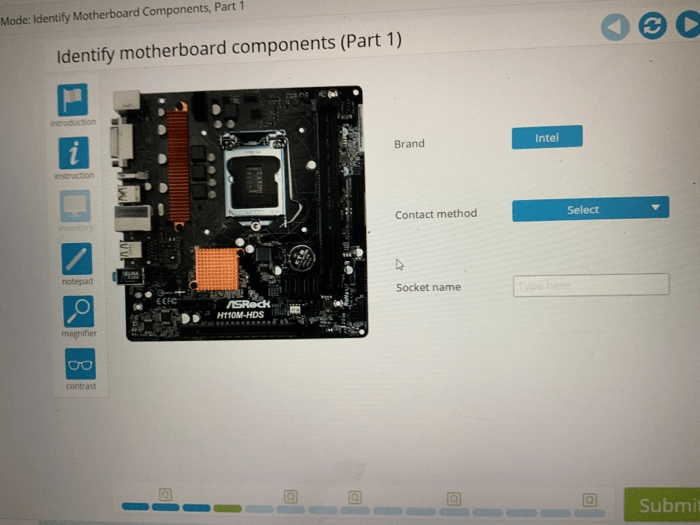
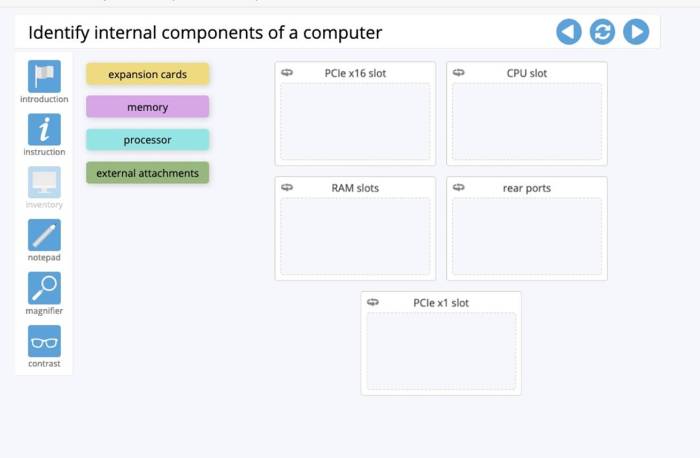
- Motherboard:The motherboard is the central hub of the laptop all-in-one. It connects all the other components and provides power and data transfer.
- CPU:The CPU (central processing unit) is the brain of the laptop all-in-one. It handles all the calculations and instructions necessary to run the operating system and applications.
- RAM:RAM (random access memory) is the temporary storage area for the operating system, applications, and data being processed by the CPU.
- Storage:The storage device, typically a hard disk drive (HDD) or solid-state drive (SSD), stores the operating system, applications, and user data.
- Battery:The battery provides power to the laptop all-in-one when it is not connected to an external power source.
- Keyboard and mouse:The keyboard and mouse allow the user to interact with the laptop all-in-one.
Troubleshooting Techniques
Troubleshooting hardware issues in a laptop all-in-one can be challenging. Here are some common troubleshooting techniques:
- Visual inspection:Check for any loose connections, damaged components, or other obvious signs of hardware problems.
- Diagnostic tools:Use diagnostic tools, such as the Windows Device Manager or third-party software, to identify and troubleshoot hardware issues.
- Boot into safe mode:Booting into safe mode can help isolate hardware issues by disabling non-essential drivers and services.
- Reset BIOS:Resetting the BIOS (basic input/output system) can resolve hardware issues caused by incorrect settings.
- Contact technical support:If you are unable to resolve the hardware issue on your own, contact the manufacturer’s technical support for assistance.
Replacement Procedures
Replacing hardware components in a laptop all-in-one requires technical skills and safety precautions. Here are the step-by-step procedures for replacing various components:
Battery
- Disconnect the laptop all-in-one from power.
- Locate the battery compartment.
- Remove the screws securing the battery compartment.
- Disconnect the battery connector.
- Remove the old battery and insert the new battery.
- Reconnect the battery connector.
- Replace the screws securing the battery compartment.
Hard drive
- Disconnect the laptop all-in-one from power.
- Locate the hard drive bay.
- Remove the screws securing the hard drive bay.
- Slide out the hard drive bay.
- Disconnect the hard drive connector.
- Remove the old hard drive and insert the new hard drive.
- Reconnect the hard drive connector.
- Slide the hard drive bay back into place.
- Replace the screws securing the hard drive bay.
Memory, Advanced hardware lab 5-6 replace parts in a laptop all-in-one
- Disconnect the laptop all-in-one from power.
- Locate the memory slots.
- Press the clips securing the memory modules.
- Remove the old memory modules and insert the new memory modules.
- Press the clips to secure the memory modules.
Display
- Disconnect the laptop all-in-one from power.
- Locate the display assembly.
- Remove the screws securing the display assembly.
- Disconnect the display cable.
- Remove the old display assembly and insert the new display assembly.
- Reconnect the display cable.
- Replace the screws securing the display assembly.
Advanced Troubleshooting
Complex hardware issues may require advanced troubleshooting techniques, such as:
- Motherboard diagnostics:Use specialized tools to diagnose motherboard issues, such as POST (power-on self-test) codes and beep codes.
- BIOS updates:Update the BIOS to resolve hardware compatibility issues or improve system stability.
- Component compatibility checks:Ensure that all hardware components are compatible with each other and the laptop all-in-one’s motherboard.
Tools and Equipment
Essential tools and equipment for hardware replacement in a laptop all-in-one include:
- Screwdriver set:A set of screwdrivers with various sizes and types.
- Anti-static wrist strap:To prevent electrostatic discharge (ESD) damage to components.
- Magnetic tray:To hold small screws and components.
- Tweezers:For handling small components.
- Diagnostic tools:Such as the Windows Device Manager or third-party software.
Safety Considerations

When working with hardware components, it is essential to follow safety precautions:
- Always disconnect the laptop all-in-one from power before working on it.
- Wear an anti-static wrist strap to prevent ESD damage.
- Handle components carefully to avoid damage.
- Do not attempt to repair or replace components if you are not qualified.
FAQ
What safety precautions should be observed when working with hardware components?
Electrostatic discharge (ESD) poses a significant risk. Handle components with care, using anti-static wrist straps and grounding mats to prevent damage from static electricity.
How can I identify the source of a hardware issue?
Utilize diagnostic tools and methods to pinpoint the malfunctioning component. These tools may include hardware monitoring software, diagnostic boot tests, and specialized equipment for testing specific components.
What is the recommended procedure for replacing a laptop battery?
Refer to the manufacturer’s instructions for specific steps. Generally, power down the laptop, disconnect the battery, and carefully remove it. Install the new battery, reconnect it, and power on the laptop.
